Piezo contact mic
building a noise free, shielded Piezoelectric contact microphone
I’ve always been fascinated by those recordings people make of electricity pylons. So when I was in the market for a portable recorder – which turned out to be the excellent Zoom H5 – I wanted the option to use external mics and especially a contact mic. It’s nice to have a few more options than the built in microphone alone for some sonic experimentation.
So after a bit of searching on the web I decided to build my own contact microphone since it’s pretty easy. Basically I just needed to order the Piezo elements which are pretty cheap and easy to find on Ebay. I also learned that I probably should build a dedicated pre-amp to get the best possible results with the least amount of noise. You can find out all about this build on this page.
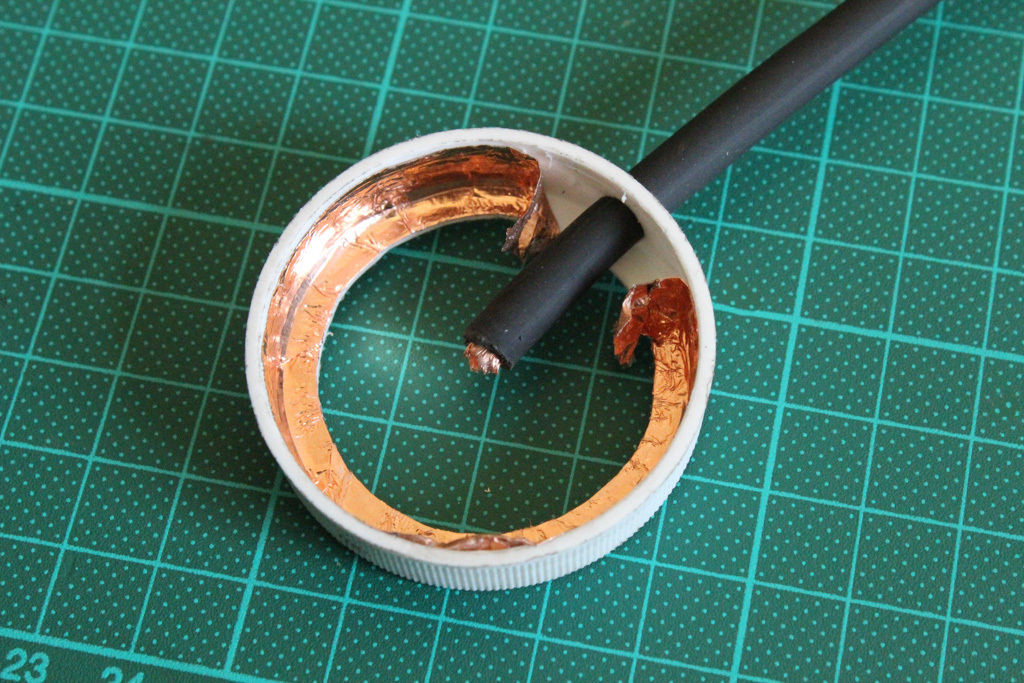
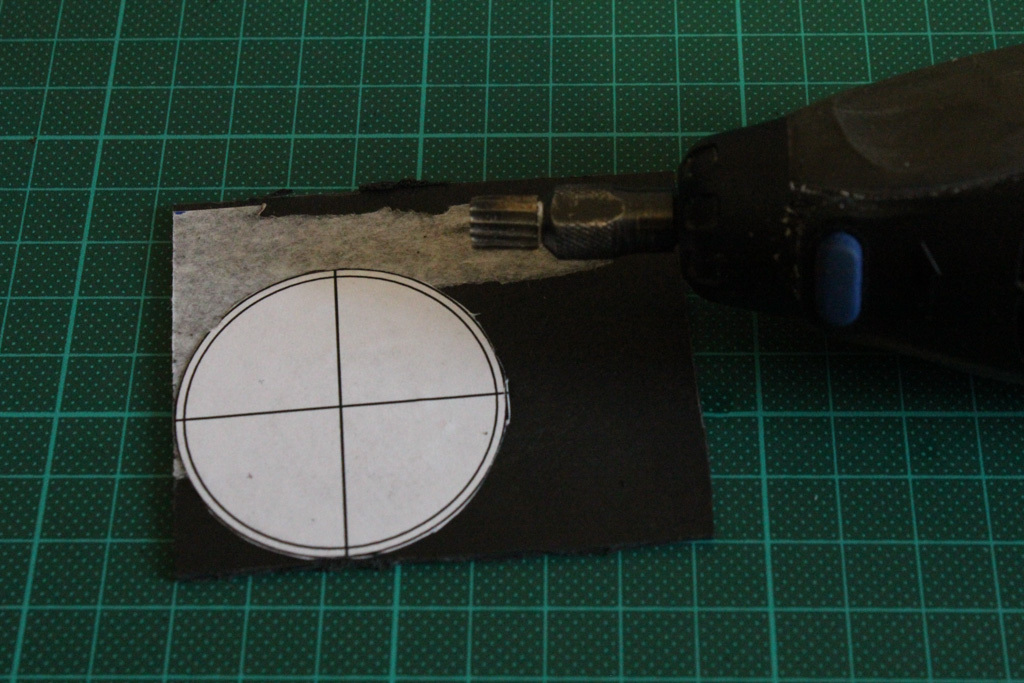
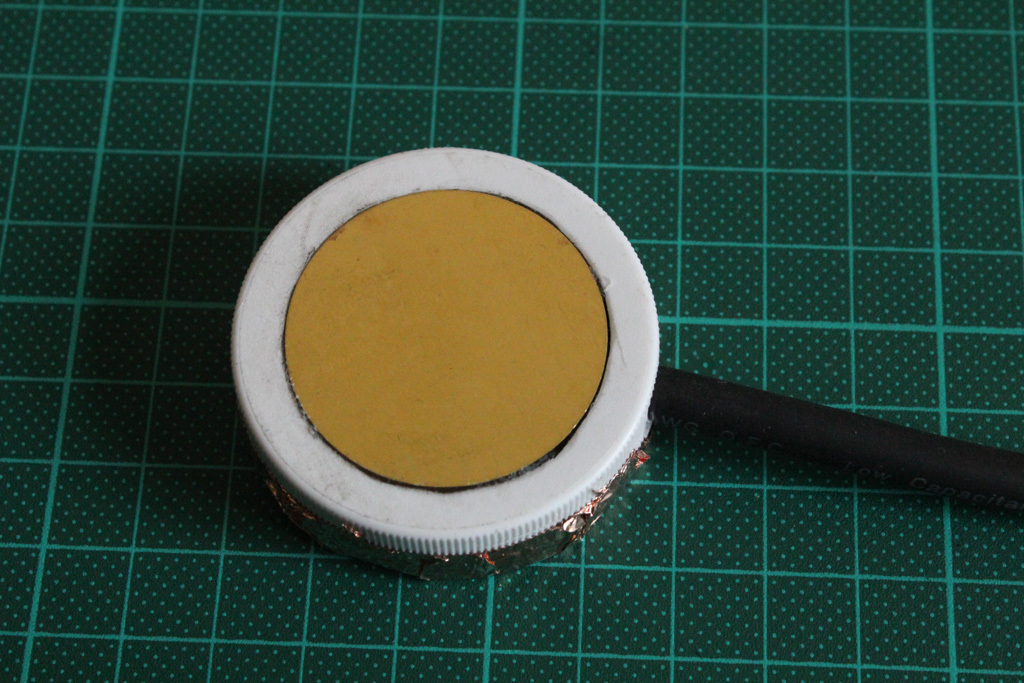
Piezo disc and container

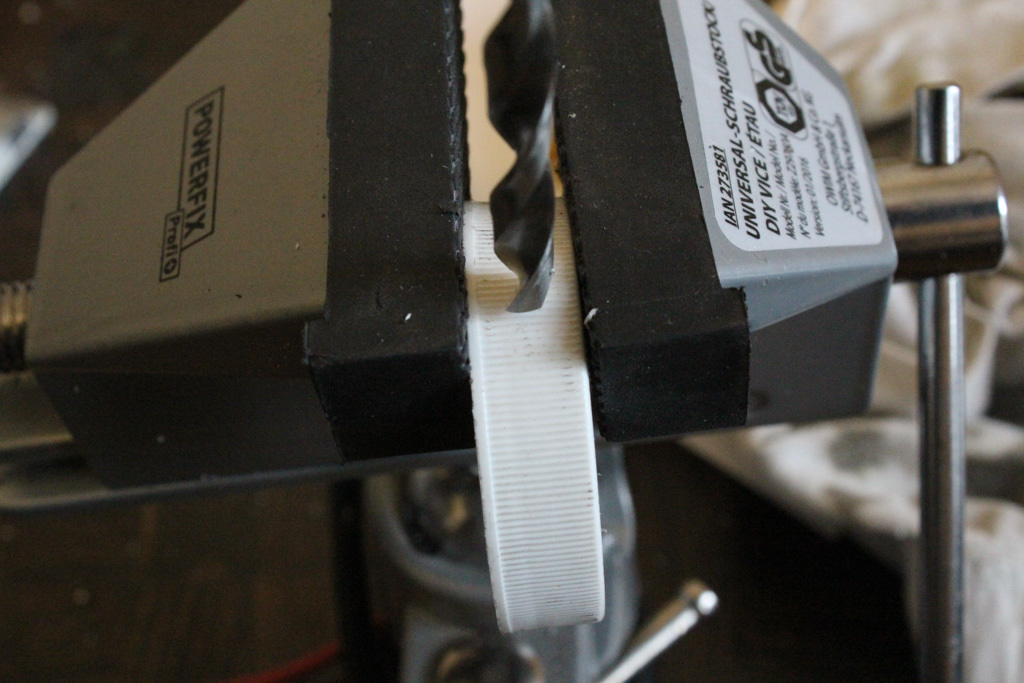


I used the lid from this vitamin bottle as a container for the Piezo element. It’s a soft plastic yet pretty sturdy and easy to work on. When making a test mic without it, I noticed it was way to fragile. The only thing you need to keep in mind is that the Piezo disc needs to sit flush with its container so it can make actual contact with the object you are going to record. Just drill a hole in the side for the audio connection. And to cut out the circular shape I used a Dremel with a routing bit.
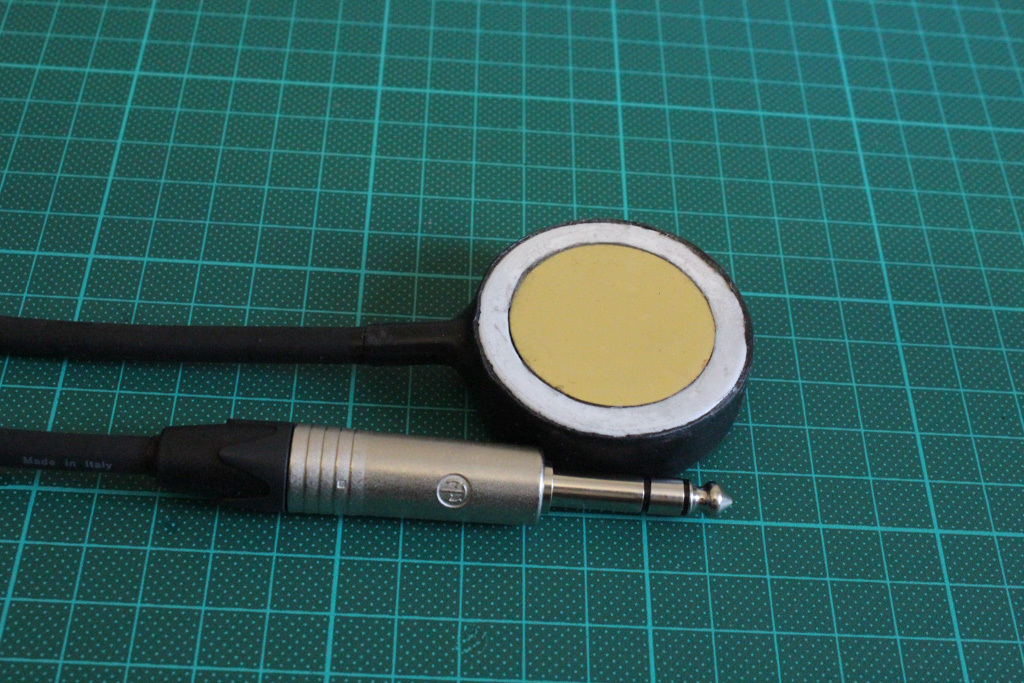
audio connector cable
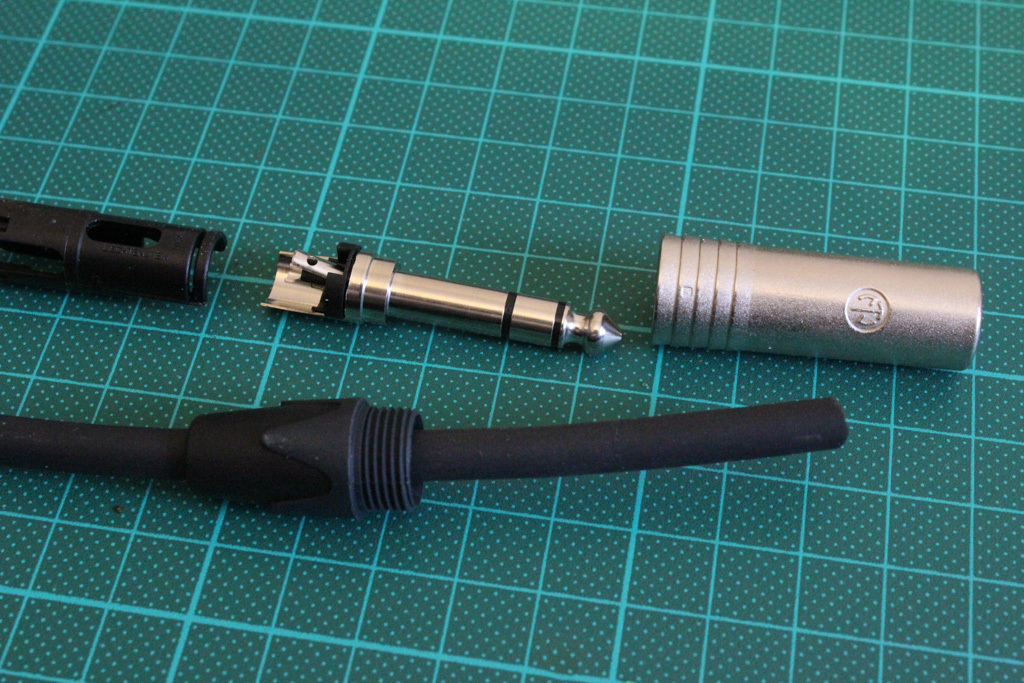
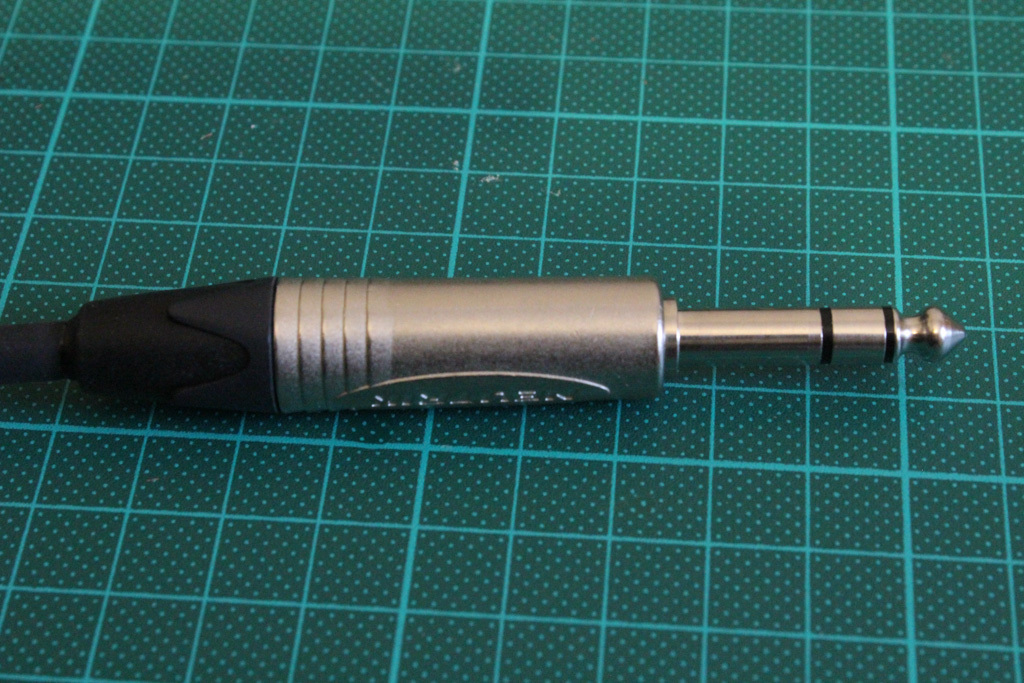
Making the connection cable with a 6.35 mm – 1/4 inch jack. I’m using good quality standard audio connectors consistently so I can easily interchange and connect everything with the gear I have and I can avoid adapters as much as possible.
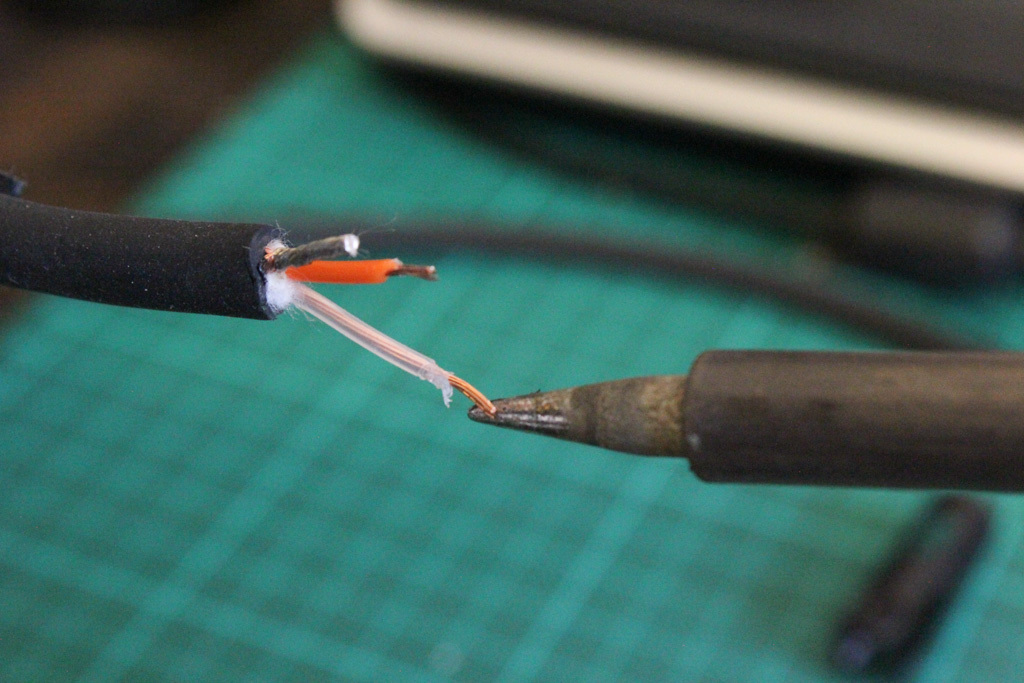
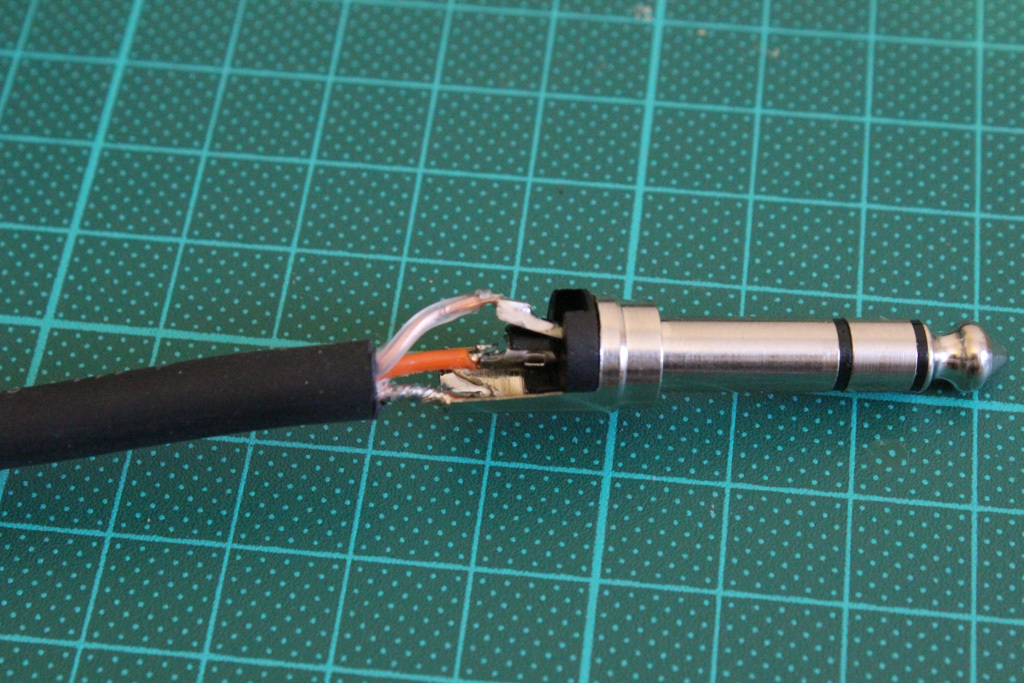
Positive wire (red) to tip, negative (translucent) to ring and shield wire to shield.
shielding
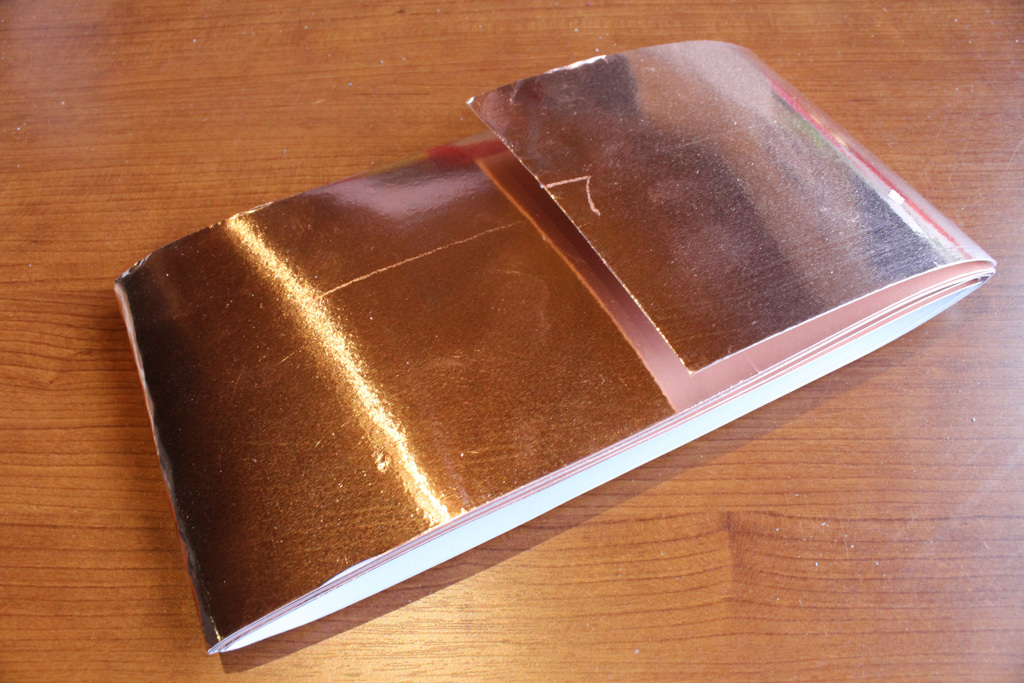

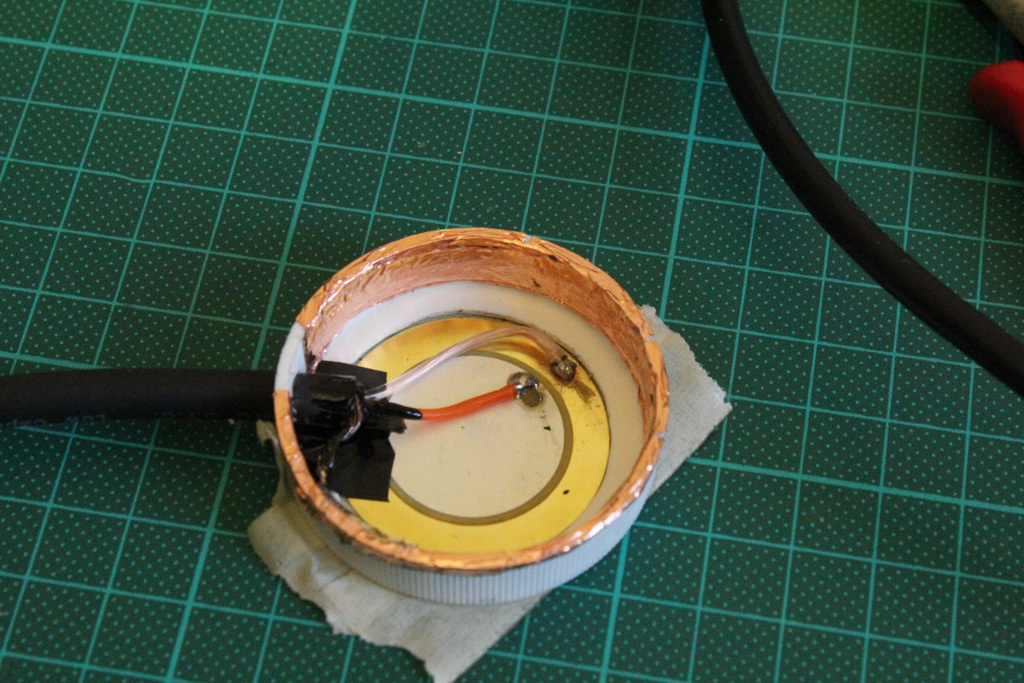
I shielded the whole thing by using a self-adhesive copper sheet to protect against electro-magnetic interference. You can find this material fairly cheap on ebay.
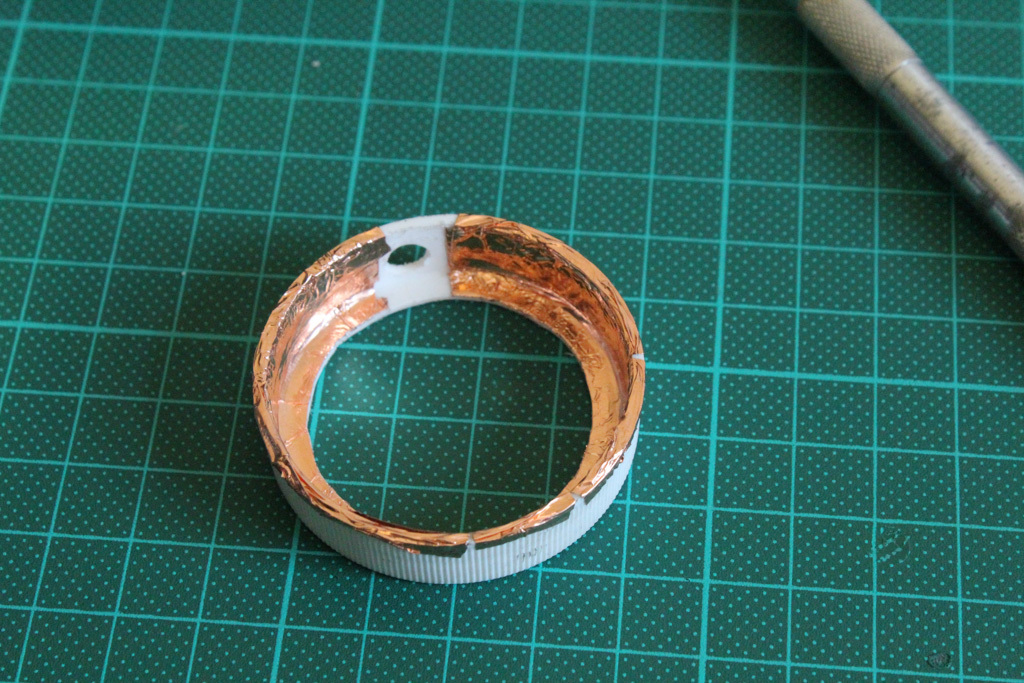
The shielding wire is connected to the copper adhesive, positive wire (red) to the inner disc and the negative wire (translucent) to the outer disc.
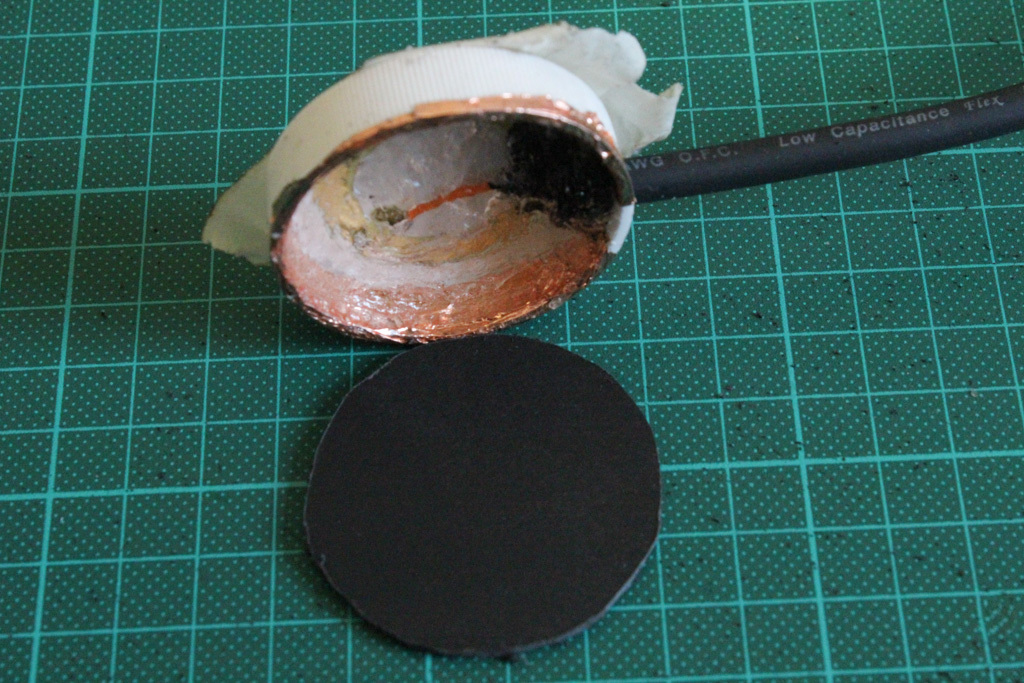
weather sealing
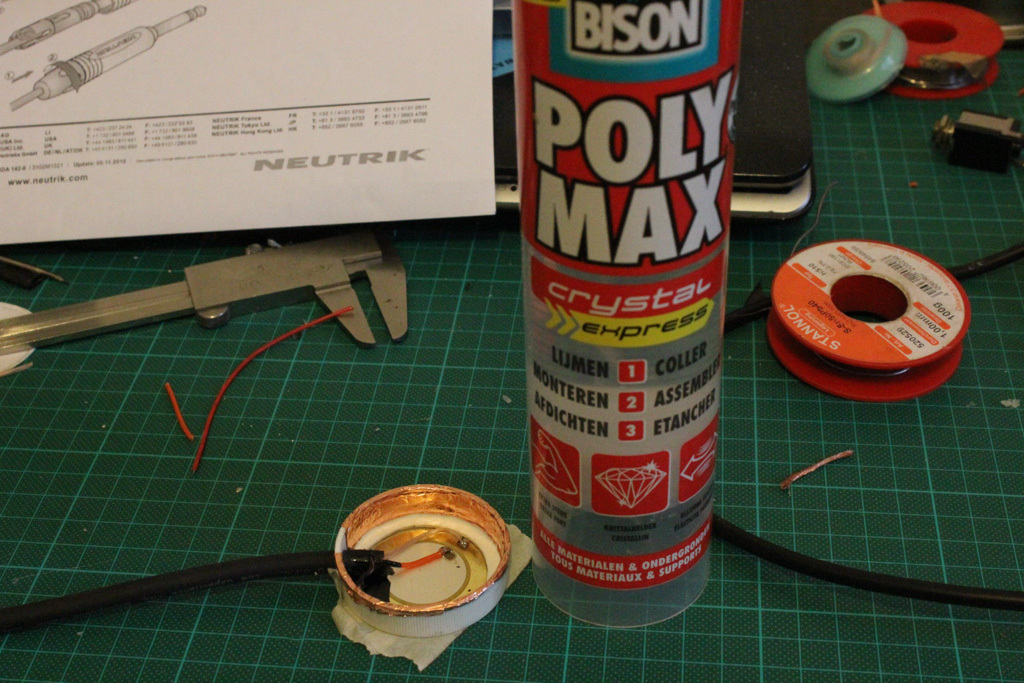
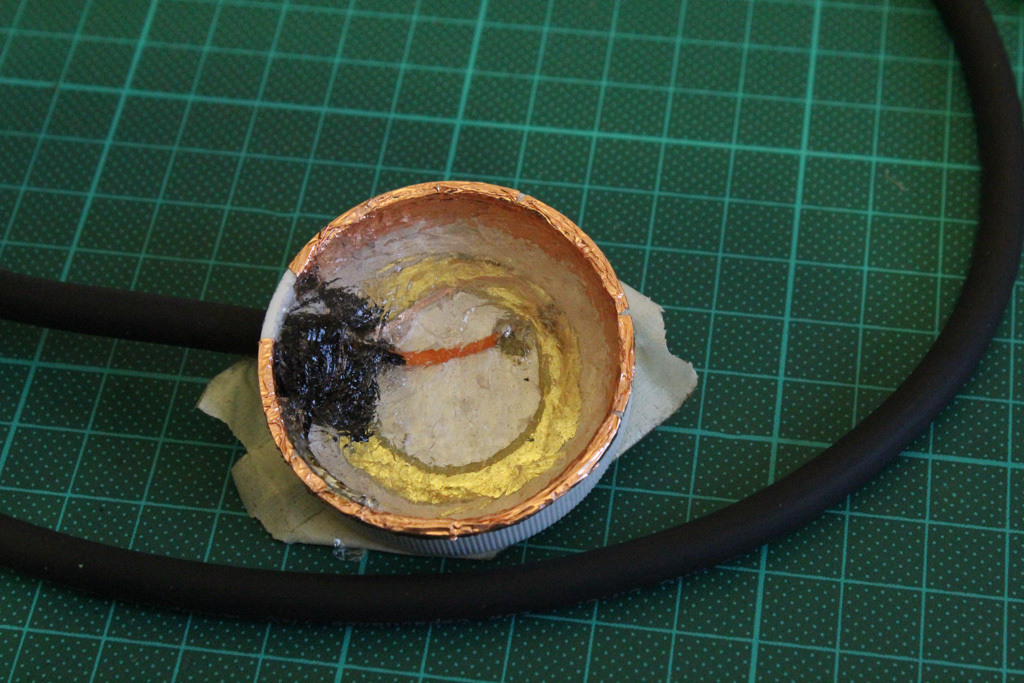
Before I continued to completely shield everything, I filled the container with some kind of elastic sealant from Bison (Poly Max). So everything inside sits tight and is protected against moisture. It can handle a wide temperature range and is water resistant.
more shielding
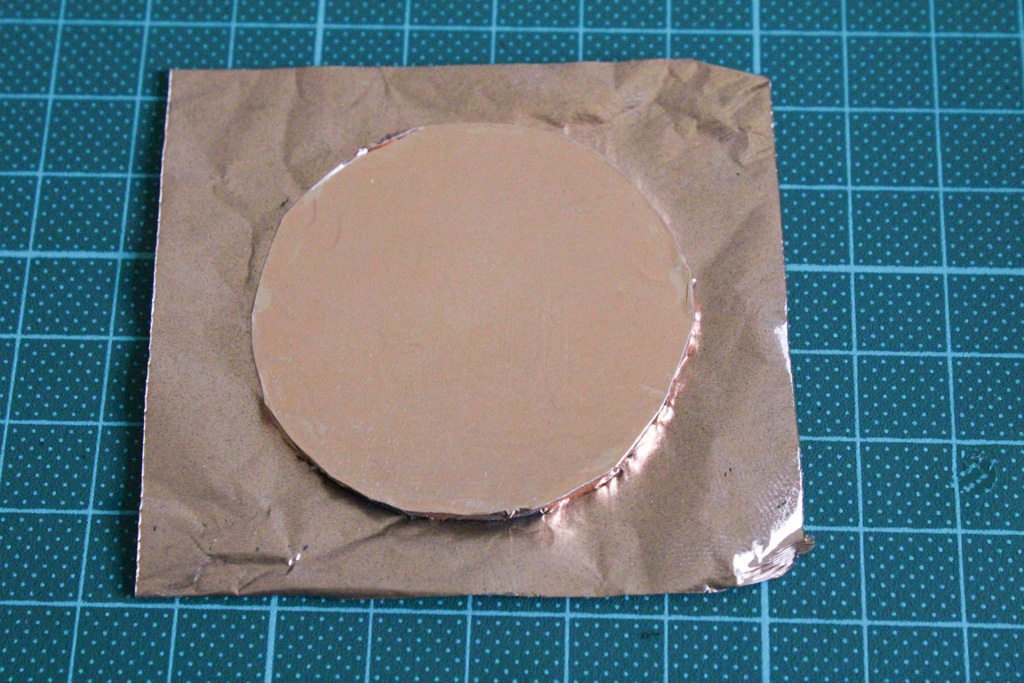
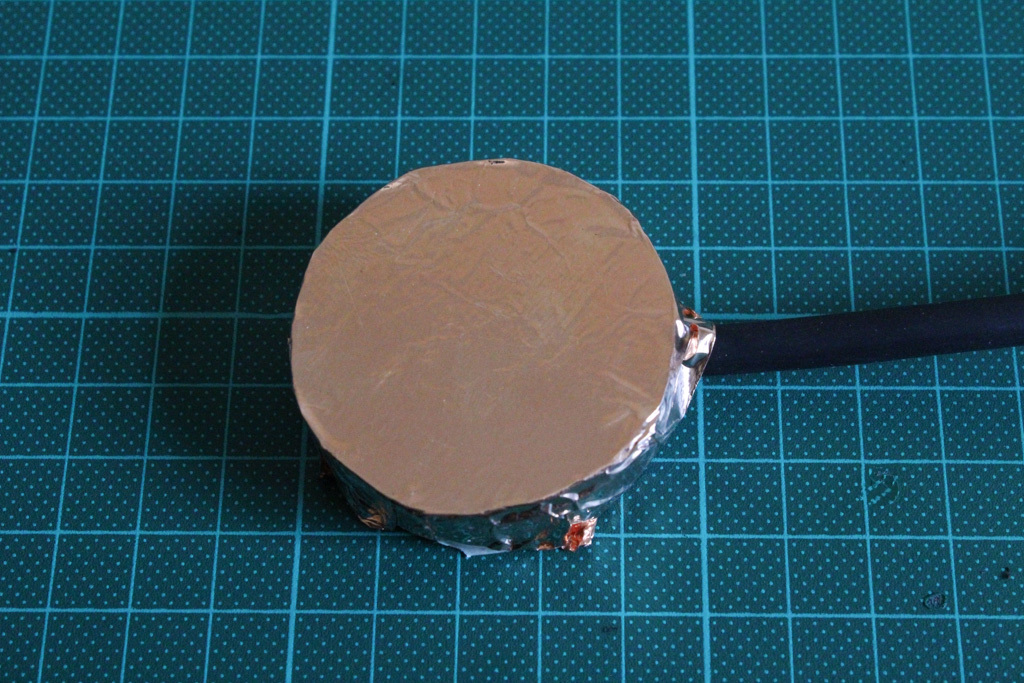
I wrapped everything in copper foil, cut out a 2mm thick piece of plastic in the shape of a disc to sit on the top of the container to make the whole thing a bit stronger.
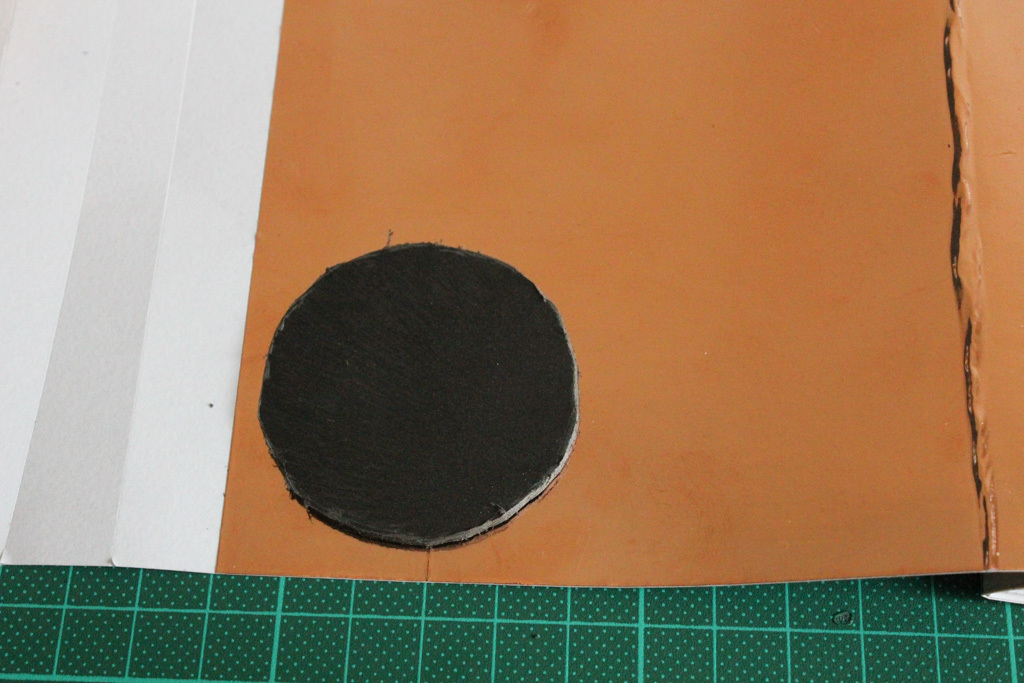
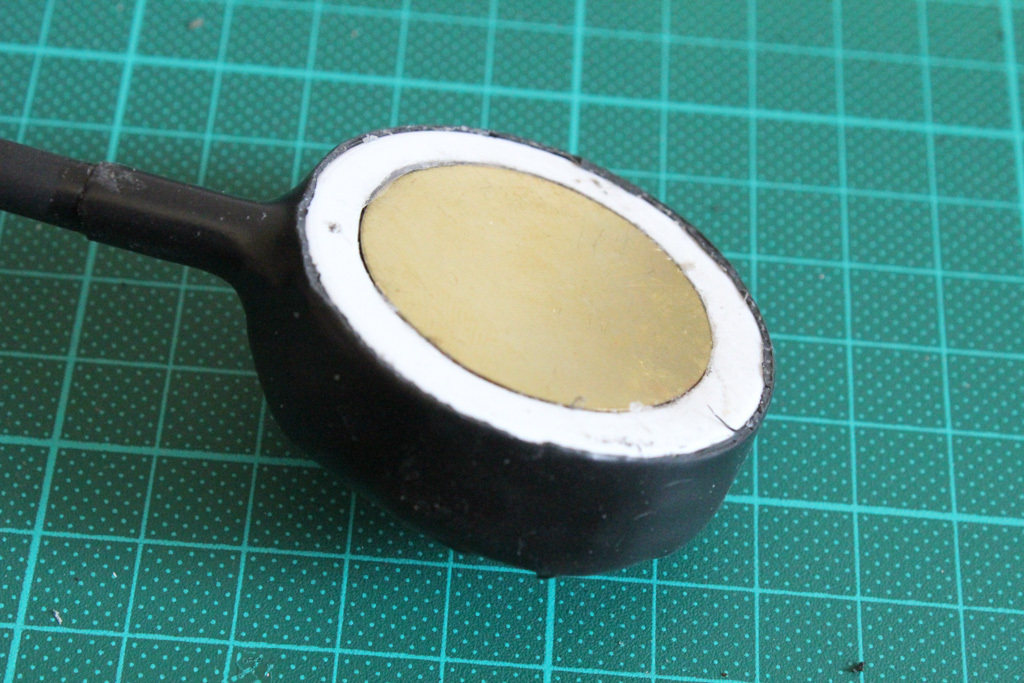
prepare for Plasti dipping
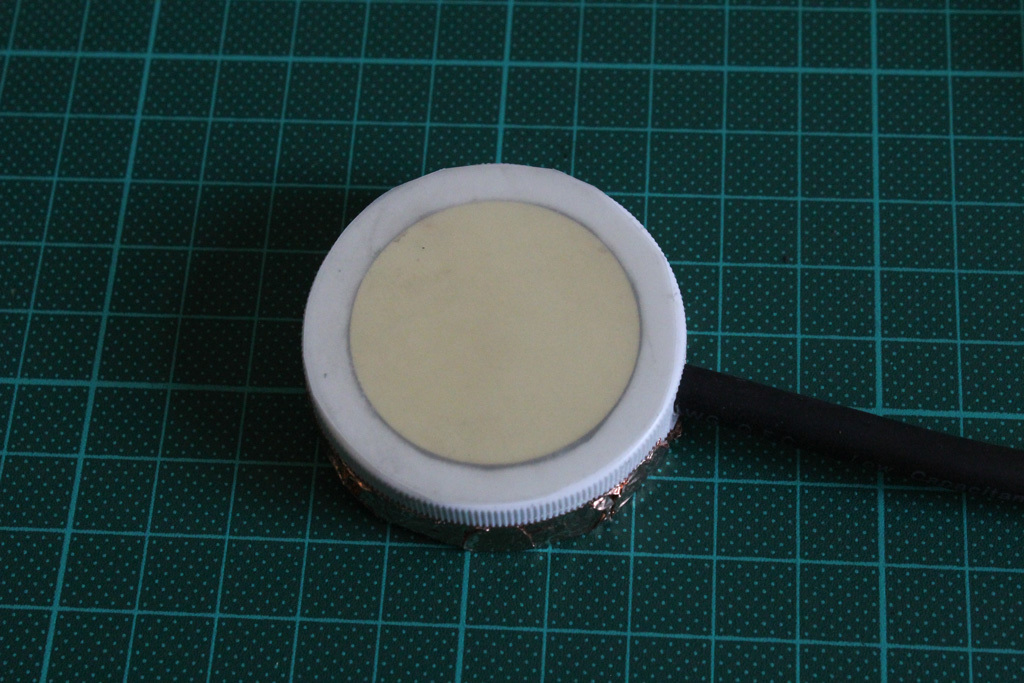
Then I taped off everything with some black electrical tape before I treated the whole mic with a fantastic product called Plasti Dip. I used a thin piece of plastic sheet to temporarily cover the contact side because it would make it easier to remove the Plasti Dip from the Piezo disc later.
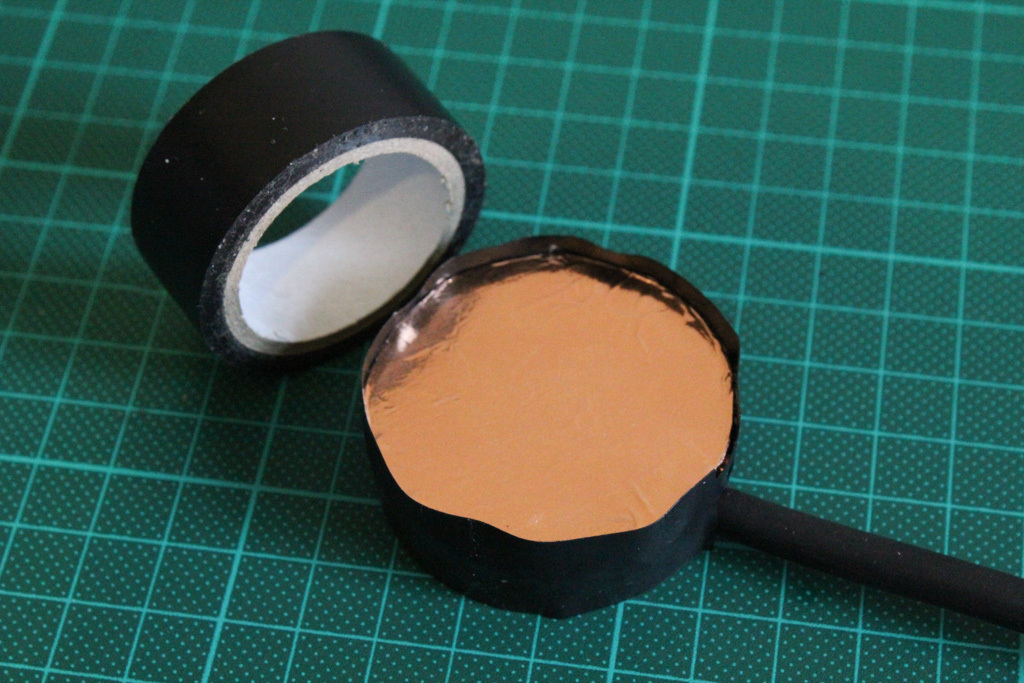
finishing
Dipping the whole microphone in Plasti Dip, so it will get a nice uniform rubber coating. Sealing it off from the elements. You need to do this very slowly. Instructions are on the can though.
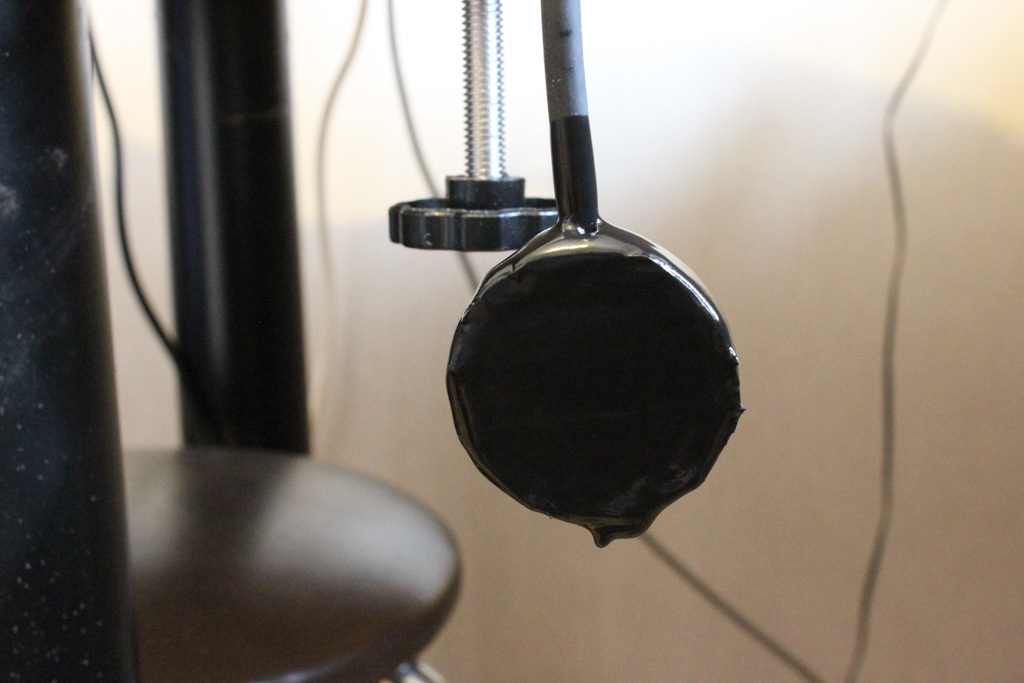
Let it dry for 30 minutes between coats. I did about 3-5 coats I believe. Then wait 4 hours before use.
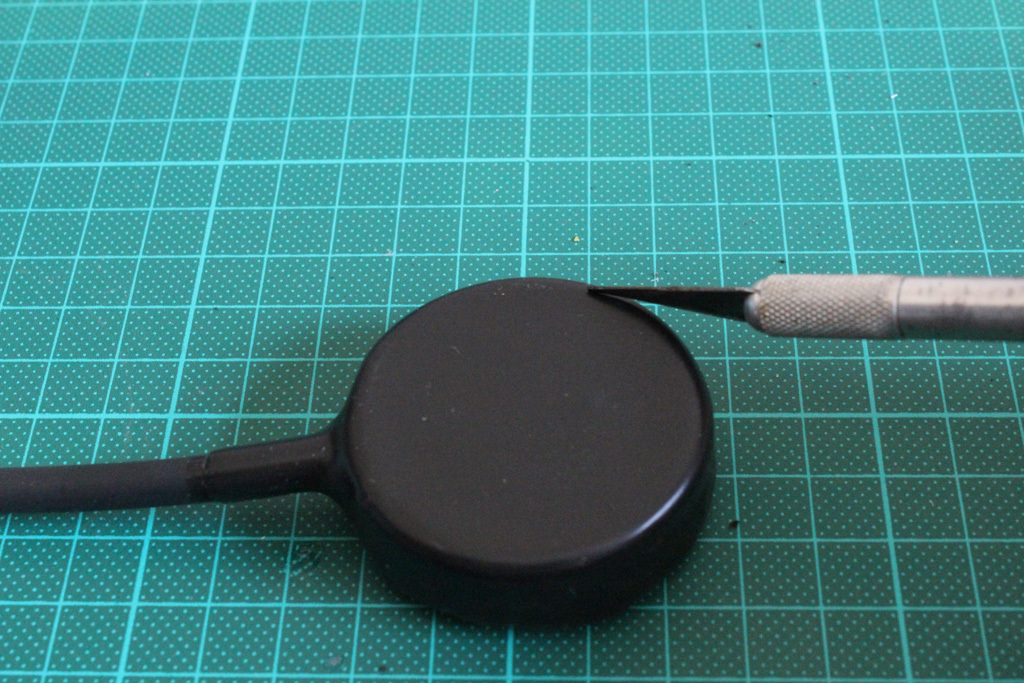
Carefully cutting the layer away where the contact patch of the microphone is.
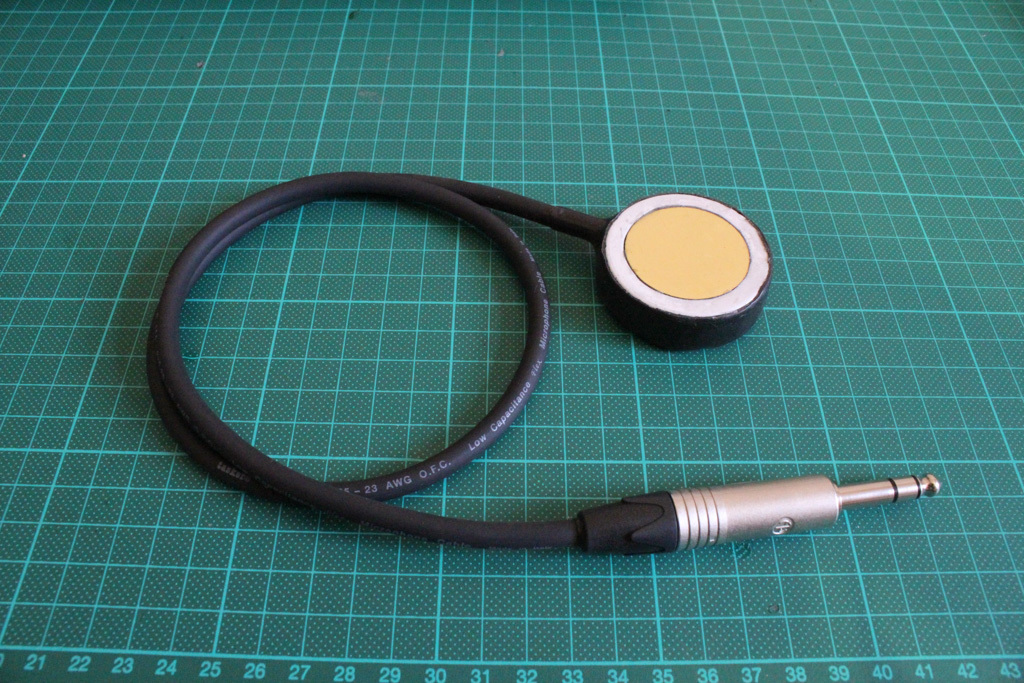
And there it is, le Piezo de resistance! Ready to start using.